La machine sera une Centos7
1°) Spécification machine
Grafana01
IP : 192.168.1.28 (vSwitch vmbr0)
Disque 1 – Système 20Go
RAM 2G

2°) Installation de Middleware
[root@grafana01 ~]# yum update -y && yum upgrade -y
[root@grafana01 ~]# yum install -y htop nmap net-tools wget
3°) Suppression du selinux
[root@grafana01 ~]# sed -i 's/SELINUX=enforcing/SELINUX=disabled/g' /etc/selinux/config
[root@grafana01 ~]# reboot
4°) Installer ntpd
[root@grafana01 ~]# yum install ntp ntpdate ntp-doc -y
[root@grafana01 ~]# chkconfig ntpd on
[root@grafana01 ~]# ntpdate pool.ntp.org
[root@grafana01 ~]# systemctl start ntpd
[root@grafana01 ~]# timedatectl

5°) Désactiver l’IPV6
[root@node01-gfs ]# vi /etc/sysctl.conf
net.ipv6.conf.all.disable_ipv6 = 1
net.ipv6.conf.all.autoconf = 0
net.ipv6.conf.default.disable_ipv6 = 1
net.ipv6.conf.default.autoconf = 0
[root@node01-gfs]# sysctl -p
6°) Installation Grafana
Ajout repository grafana
[root@grafana01 ~]# vi /etc/yum.repos.d/grafana.repo
[grafana]
name=grafana
baseurl=https://packages.grafana.com/oss/rpm
repo_gpgcheck=1
enabled=1
gpgcheck=1
gpgkey=https://packages.grafana.com/gpg.key
sslverify=1
sslcacert=/etc/pki/tls/certs/ca-bundle.crt
[root@grafana01 ~]# yum update
[root@grafana01 ~]# yum install grafana
Installation de font du Supplémentaire
[root@grafana01 ~]# yum install fontconfig freetype* urw-fonts
Activer Grafana
[root@grafana01 ~]# systemctl start grafana-server && systemctl enable grafana-server
[root@grafana01 ~]# systemctl status grafana-server

Régle de Firewall
[root@grafana01 ~]# firewall-cmd --zone=public --add-port=3000/tcp --permanent
[root@grafana01 ~]# firewall-cmd --reload
Login/Password : admin/admin
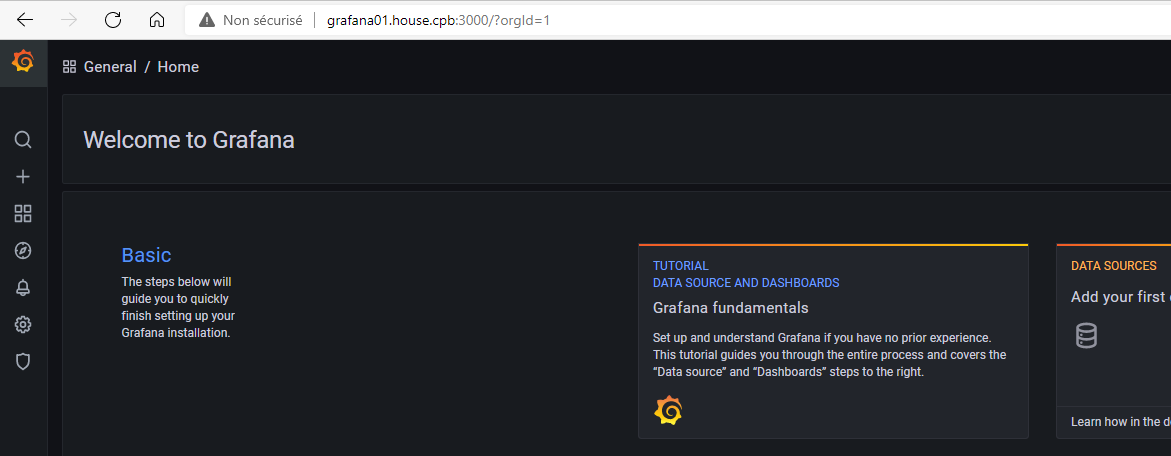
7°) Installation Promotheus

[root@grafana01 ~]# cd /home/chris
[root@grafana01 chris]# wget https://github.com/prometheus/prometheus/releases/download/v2.8.1/prometheus-2.8.1.linux-amd64.tar.gz
[root@grafana01 chris]# tar xzvf prometheus-2.8.1.linux-amd64.tar.gz
[root@grafana01 chris]# mv prometheus-2.8.1.linux-amd64 prometheuspackage
Création User Promotheus
[root@grafana01 chris]# useradd --no-create-home --shell /bin/false prometheus
Création structure Promotheus
[root@grafana01 chris]# mkdir /etc/prometheus
[root@grafana01 chris]# mkdir /var/lib/prometheus
[root@grafana01 chris]# chown prometheus:prometheus /etc/prometheus
[root@grafana01 chris]# chown prometheus:prometheus /var/lib/prometheus
Copier les binaires sur la structure Promotheus
[root@grafana01 chris]# cp prometheuspackage/prometheus /usr/local/bin/
[root@grafana01 chris]# cp prometheuspackage/promtool /usr/local/bin/
[root@grafana01 chris]# chown prometheus:prometheus /usr/local/bin/prometheus
[root@grafana01 chris]# chown prometheus:prometheus /usr/local/bin/promtool
Copier les fichiers conf sur la structure Promotheus
[root@grafana01 chris]# cp -r prometheuspackage/consoles /etc/prometheus
[root@grafana01 chris]# cp -r prometheuspackage/console_libraries /etc/prometheus
[root@grafana01 chris]# chown -R prometheus:prometheus /etc/prometheus/consoles
[root@grafana01 chris]# chown -R prometheus:prometheus /etc/prometheus/console_libraries
Configurer Promotheus
[root@grafana01 chris]# vi /etc/prometheus/prometheus.yml
global:
     scrape_interval: 10s

scrape_configs:
      - job_name: 'pve'
        scrape_interval: 5s
        metrics_path: /pve
        static_configs:
           - targets: ['IP_PROXMOX:9221']
[root@grafana01 chris]# chown prometheus:prometheus /etc/prometheus/prometheus.yml
Création du service Promotheus
[root@grafana01 chris]# vi /etc/systemd/system/prometheus.service
[Unit]
Description=Prometheus
Wants=network-online.target
After=network-online.target

[Service]
User=prometheus
Group=prometheus
Type=simple
ExecStart=/usr/local/bin/prometheus \
--config.file /etc/prometheus/prometheus.yml \
--storage.tsdb.path /var/lib/prometheus/ \
--web.console.templates=/etc/prometheus/consoles \
--web.console.libraries=/etc/prometheus/console_libraries

[Install]
WantedBy=multi-user.target
Démarrage du service Promotheus
[root@grafana01 chris]# systemctl daemon-reload
[root@grafana01 chris]# systemctl start prometheus
[root@grafana01 chris]# systemctl status prometheus

Régle de Firewall
[root@grafana01 ~]# firewall-cmd --zone=public --add-port=9090/tcp --permanent
[root@grafana01 ~]# firewall-cmd --zone=public --add-port=9221/tcp --permanent
[root@grafana01 ~]# firewall-cmd --reload
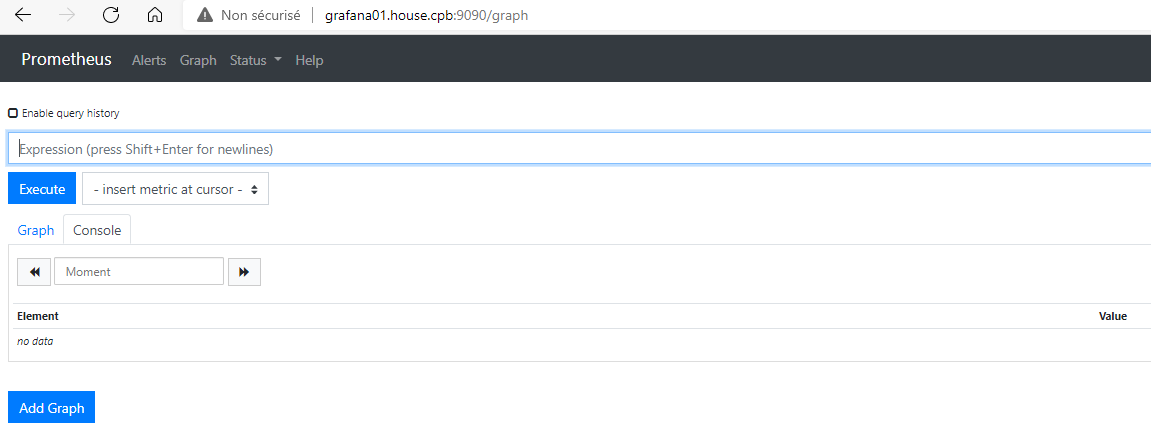
8°) Installation Proxmox-pve-exporter (Serveur PROXMOX)
Créer un user pve_exporter Spécifique à Proxmox
root@floki03:~# pveum groupadd monitoring -comment 'Monitoring group'
root@floki03:~# pveum aclmod / -group monitoring -role PVEAuditor
root@floki03:~# pveum useradd pve_exporter@pve
root@floki03:~# pveum usermod pve_exporter@pve -group monitoring
root@floki03:~# pveum passwd pve_exporter@pve
Installation de l’exporter pve
root@floki03:~# apt-get install python-pip
root@floki03:~# pip install prometheus-pve-exporter

Fichier de conf à pour la connexion à l’utilisateur privilégié
root@floki03:~# mkdir -p /usr/share/pve_exporter/
root@floki03:~# vi /usr/share/pve_exporter/pve_exporter.yml
default:
         user: pve_exporter@pve
         password: "mot_de_passe user_exporter"
         verify_ssl: false
Création du service pve exporter
root@floki03:~# vi /etc/systemd/system/pve_exporter.service
[Unit]
Description=Proxmox VE Prometheus Exporter
After=network.target
Wants=network.target

[Service]
Restart=on-failure
WorkingDirectory=/usr/share/pve_exporter
ExecStart=/usr/local/bin/pve_exporter /usr/share/pve_exporter/pve_exporter.yml 9221 IP_PROXMOX

[Install]
WantedBy=multi-user.target
Lancer le service pve exporter
root@floki03:~# systemctl daemon-reload
root@floki03:~# systemctl enable pve_exporter
root@floki03:~# systemctl start pve_exporter

9°) ADD Promotheus source dans Grafana (grafana01)
Connexion de Grafana et Promotheus

« Ajouter une source de données»

« Choisir la source de données – Prometheus»

« Configurer la connexion entre Promotheus et Grafana »
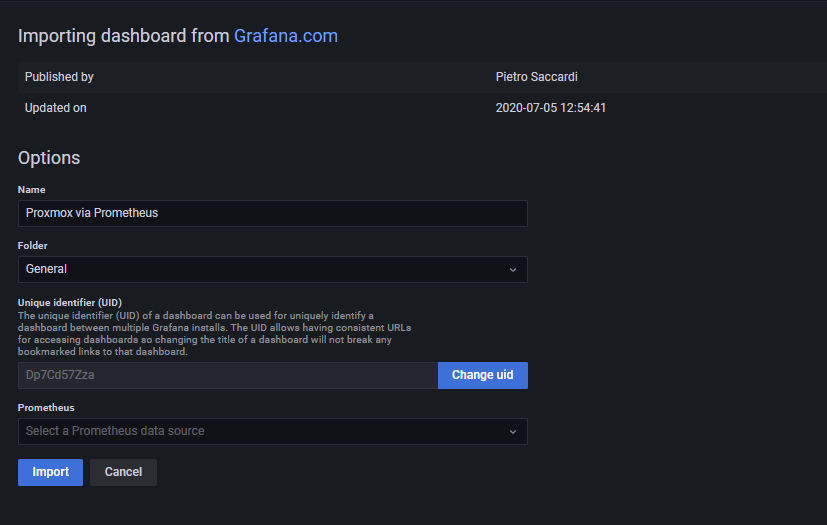
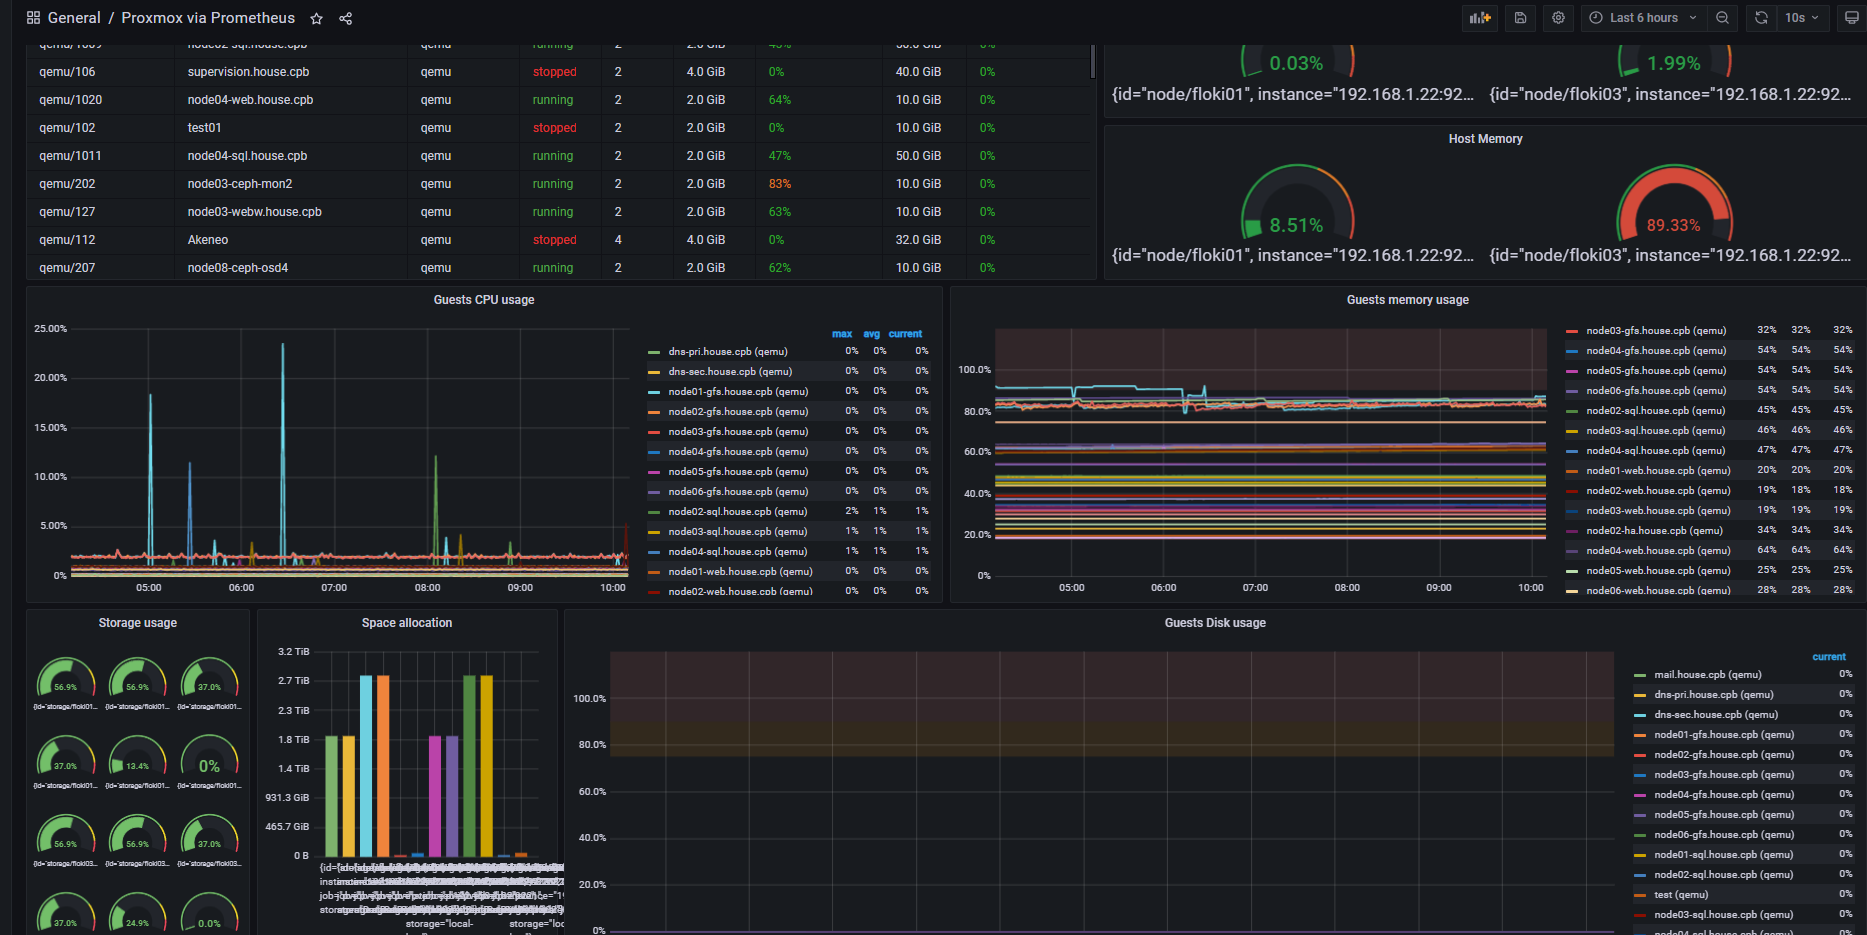
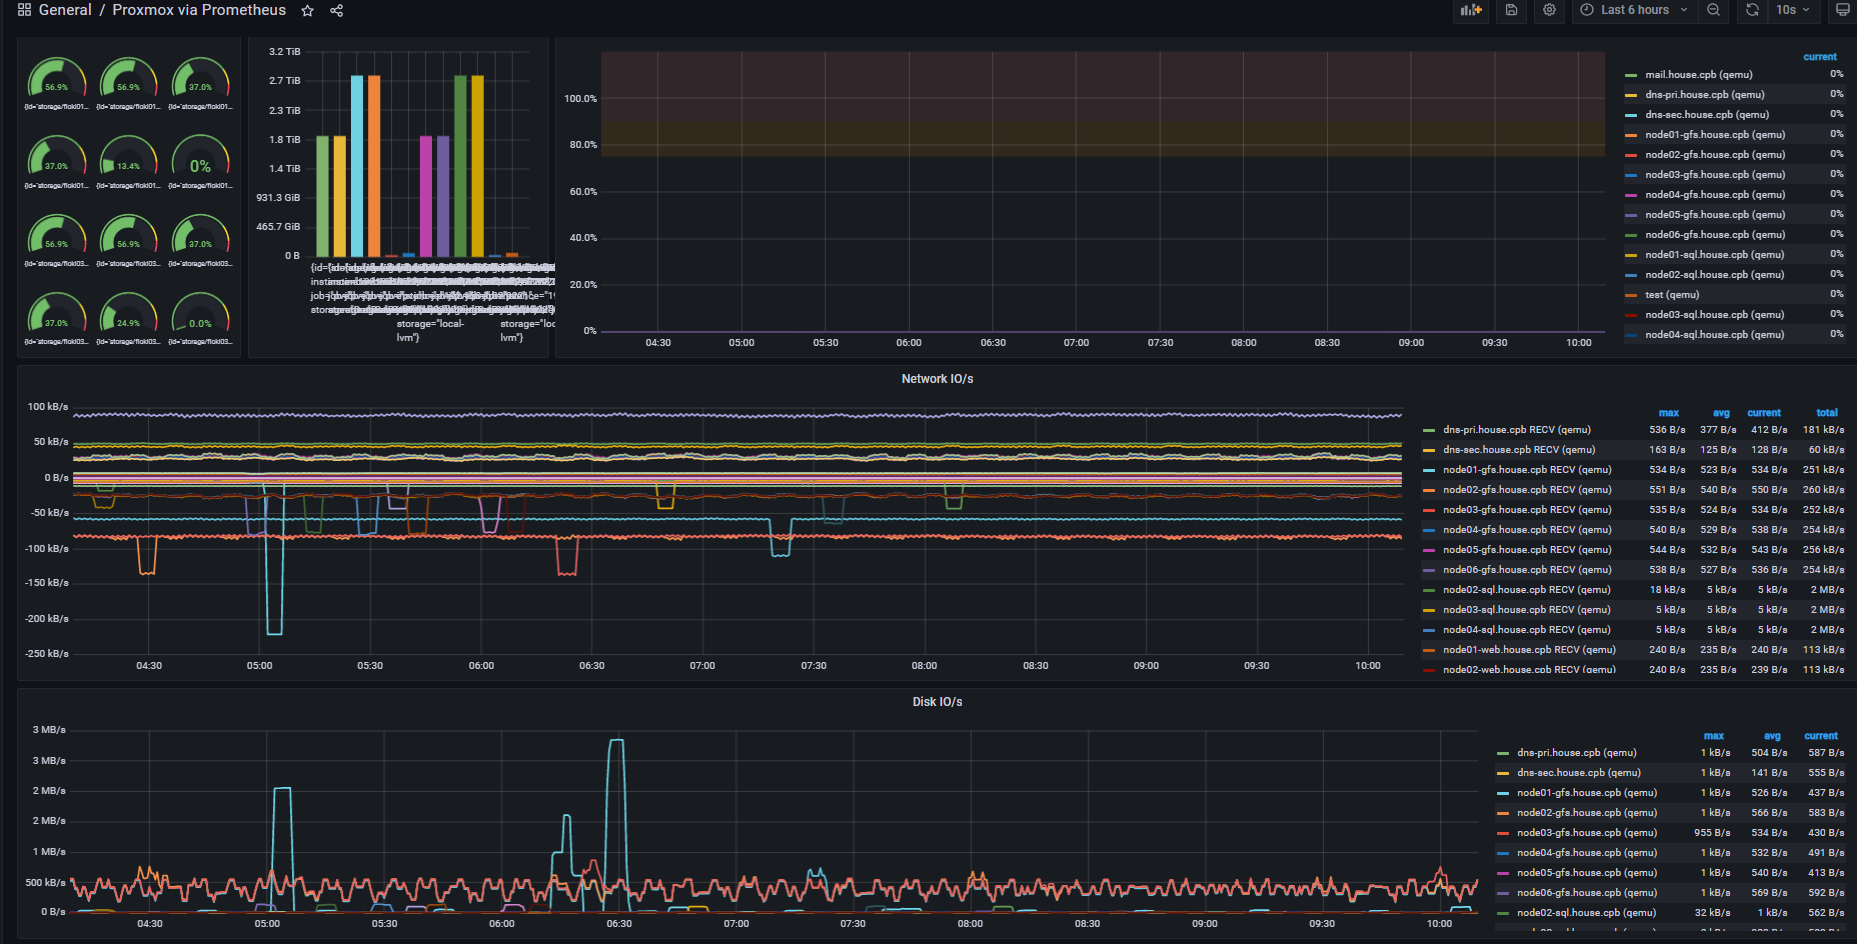
Importer un DashBoard spécifique à Proxmox
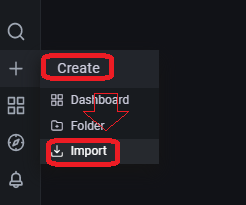
« Create» et « Import »
Il existe un référentiel de Dashboard différent disponible sur le site de Grafana.
- Ici on prend le DashBoard 10347

« Load »
Views: 65

